Minimalist jewellery with geometric shapes at Smyks
Smyks.com here presents a collection that celebrates the simple aesthetic of minimalism through jewellery in geometric shapes that can be combined in countless ways. With jewellery materials in sterling silver, gold-plated sterling silver and oxidised sterling silver, Smyks offers a wide range of designs that can be worn as is or easily combined with other elements. Many of the jewellery pieces require no tools, making it possible to change your look from day to day - perfect for those who love to experiment with their style.
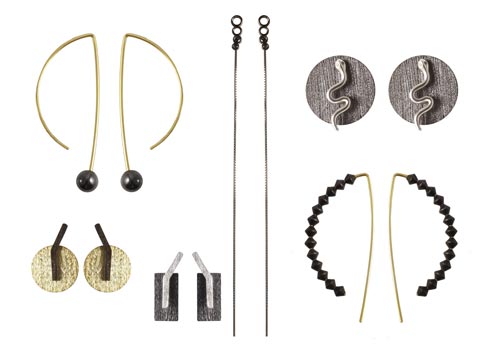
Smyks continues with stocking up on simple geometrical shapes which have proved to be very popular. Now we can show you a little collection playing with different shapes and materials in a variety of combinations.
Minimalism means to concentrate on the most important and omitting the redundant. This style is characteristic for Danish interior design – but also for Danish jewellery. It is precisely the simple designs which are the most popular and best-selling in our Scandinavian homeland.
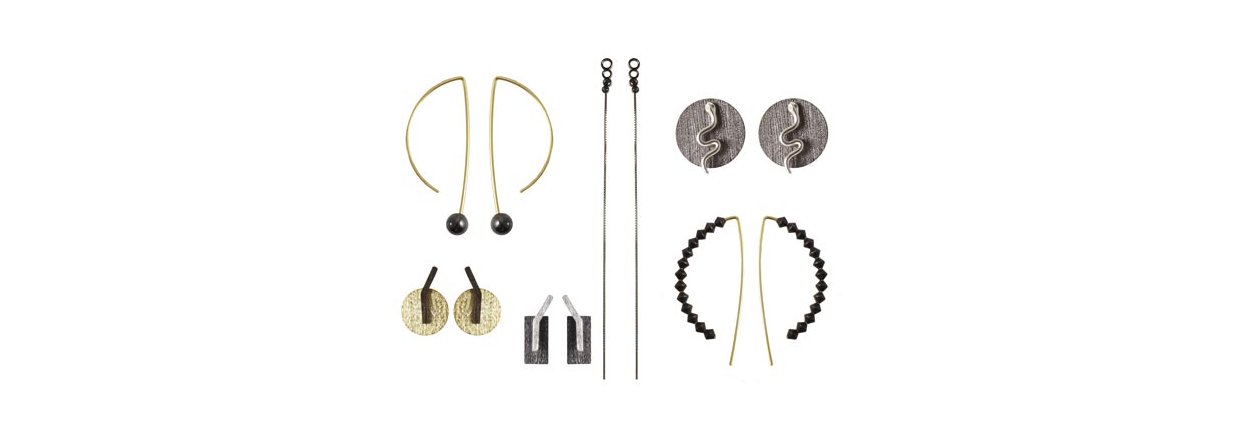
All our new earstuds and earwires can be worn just as they are – or they can be combined with other shapes.
The jewellery components come in sterling silver, gilded sterling silver and oxidised sterling silver. Most of the designs can be assembled without tools, i.e. they can be reassembled every single day.

Beautiful Jessica Alba has often be sighted wearing minimalistic earstuds.
Here you can see her mixing different shapes and placing one part of the earstud behind the earlobe.
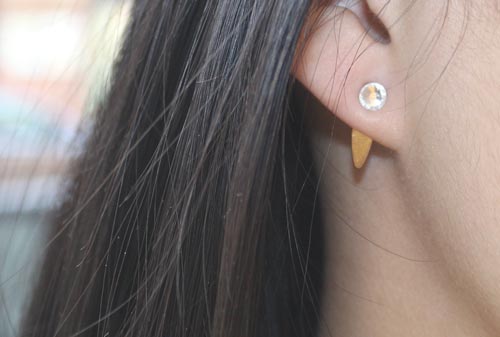
You can create your own version of Jessica Alba’s earstuds using the following materials:
- 1 pair of earstuds with 4mm pad, gilded sterling silver
- 2 Swarovski crystals with flat back (5mm)
- 2 long pointy ovals, gilded brass
- jewellery glue
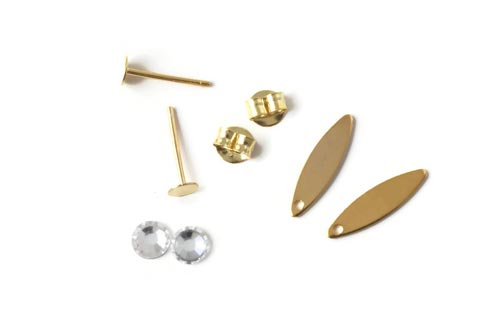
Glue the crystals on the earstuds.
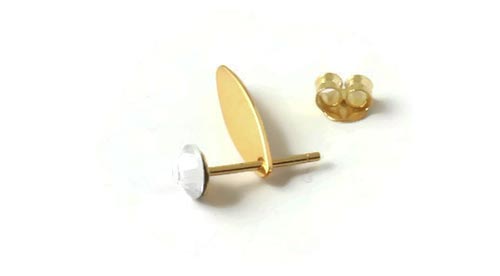
Next, insert the peg of the earstuds into the hole in the pendants. Your earrings are already done! The earstuds are also available in sterling silver.
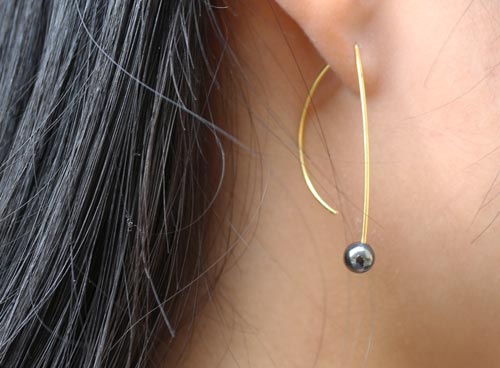
Earwires with haematite beads
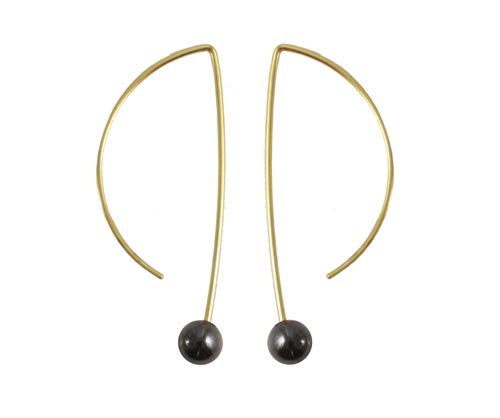
You need the following materials to assemble these earwires:
Apply at bit of adhesive in the hole of the bead, then glue the bead on the end of the earwire.
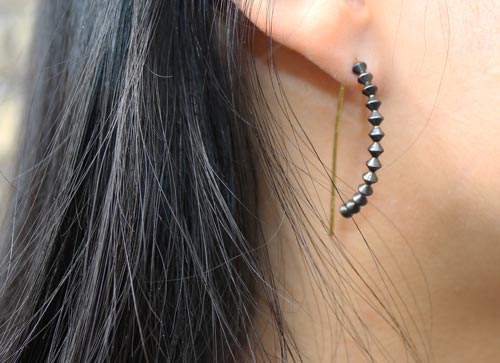
Earwires with black bicones
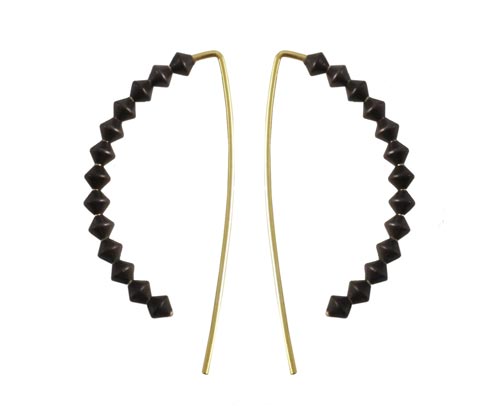
You need the following materials to assemble these earwires:
Apply a bit of adhesive on the upper part of the earwire, there where you want the first bicone bead to sit. Slide the first bead to that spot, subsequently, thread the other beads on the earwire. Finally, apply a bit of glue underneath the last bead to fix it in place. If you like, you can use some adhesive in the middle section, too.
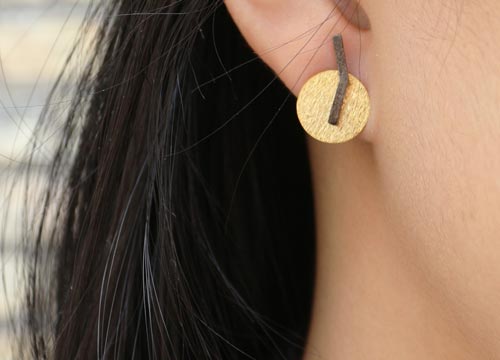
Earstuds with gilded coins
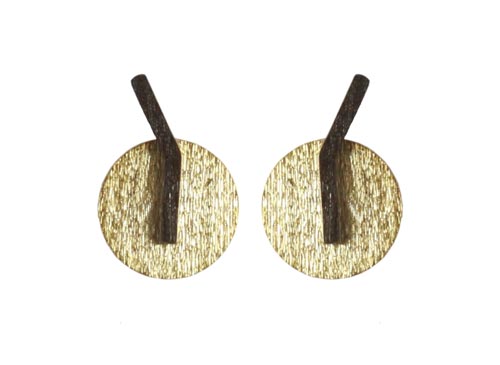
You need the following materials to assemble these earstuds:
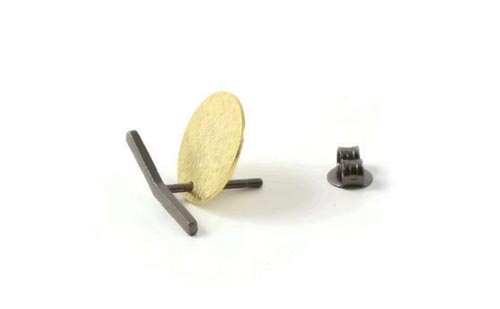
Insert the peg of the earstud into the hole in the coin.
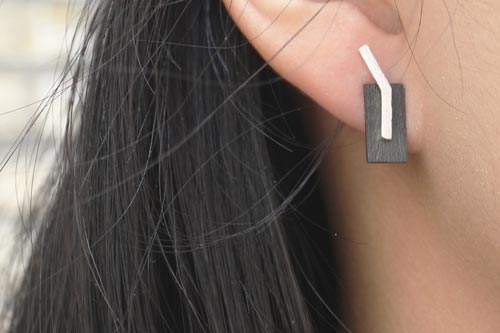
Earstuds with black silver squares
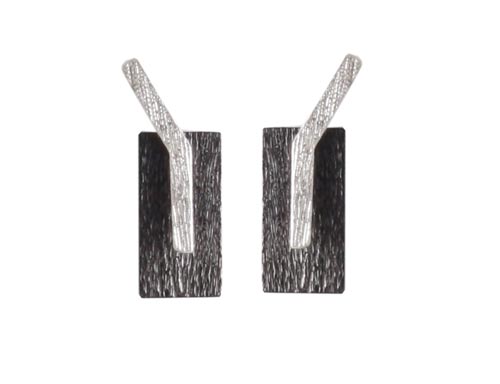
You need the following materials to assemble these earstuds:
- 1 pair of earstuds with bent bar, sterling silver (discontinued item)
- 2 squares (6 x 12mm), oxidised sterling silver (discontinued item)
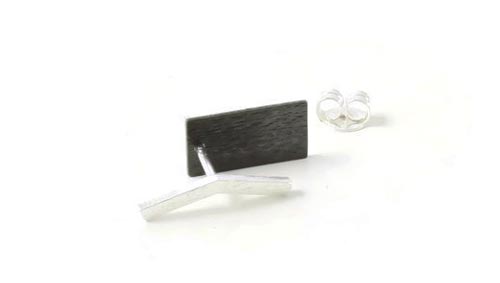
Insert the peg of the earstud into the hole in the square.
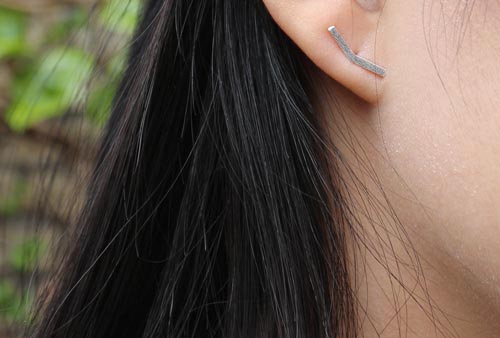
The bent bar alone looks great, too.
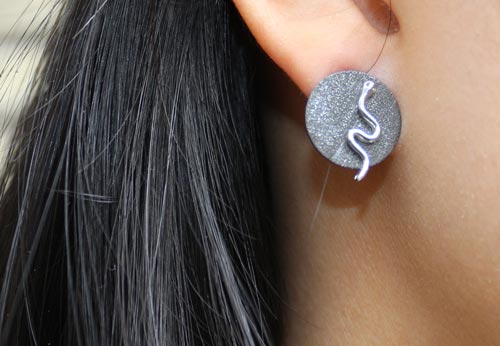
Earstuds with coin and snake
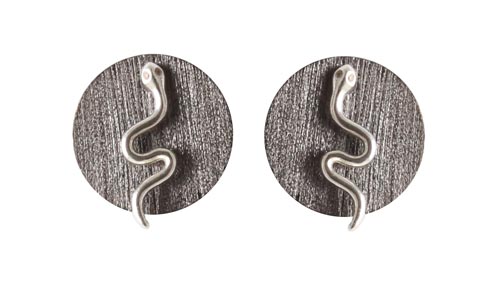
You need the following components to assemble these earstuds:
- 1 pair of earstuds with snake and zirkonia, sterling silver
- 2 coins (15mm), oxidised sterling silver
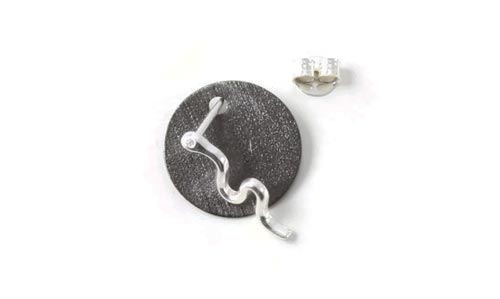
Insert the peg of the earstud into the hole in the coin.
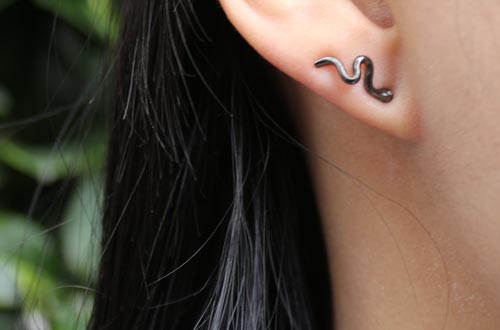
The little snake looks fantastic even without any additional component, especially when it is . positioned parallel to the auricle. You might like to bend the snake a bit to make it touch the ear completely.
Earstuds with silver teardrops and gilded snakes
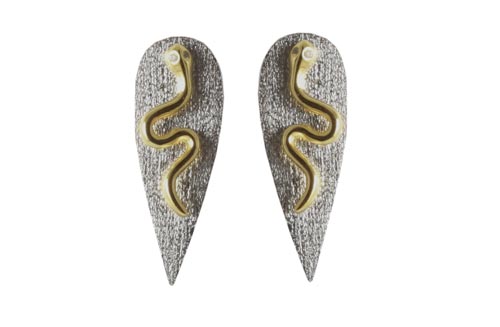
You need the following components to assemble these earstuds:
- 1 pair of earstuds with snake and zirkonia, gilded sterling silver
- 2 pointed teardrops, brushed sterling silver
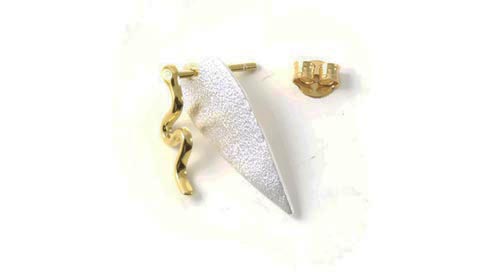
Insert the peg of the earstud into the hole in the teardrop.
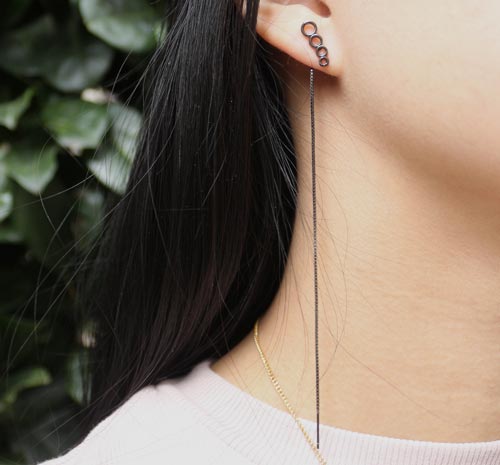
Earthreads with rings

You need the following components to assemble these earthreads:
- 1 earstuds with rings, oxidised sterling silver
- 1 pair of earthreads with peg and eyelet (10cm), oxidised sterling silver
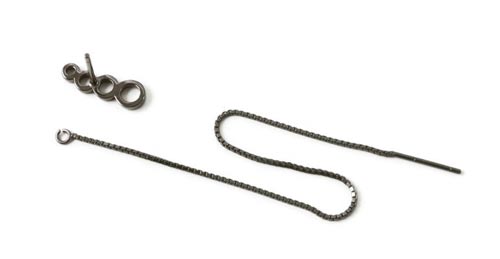
Insert the peg of the earstud into the eyelet of the earthread.
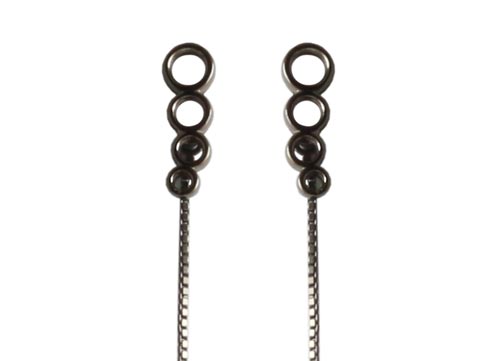
Alternatively, you insert the earstud into your earlobe piercing first and then place the earthread on the peg behind the ear. Finally, you fixate both with an earnut.
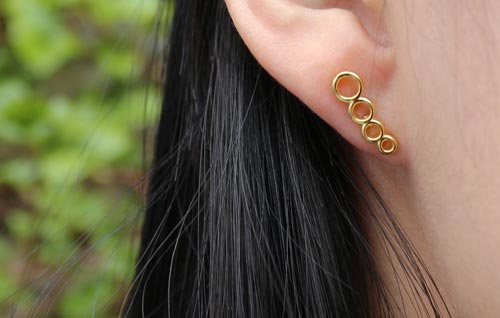
These lovely gilded earstuds actually don’t need any additional piece.
Have you got any questions, suggestions or comments? Please write in the commentary field below. Thank you!
We will publicly show your name and comment on this website. Your email is to ensure that the author of this post can get back to you. We promise to keep your data safe and secure.