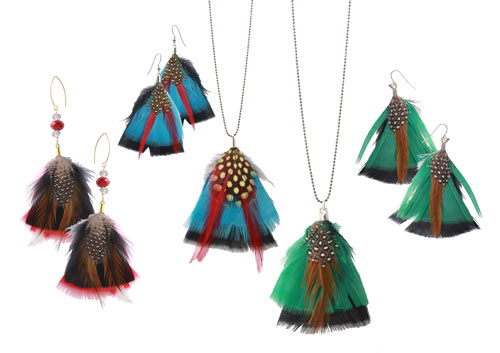
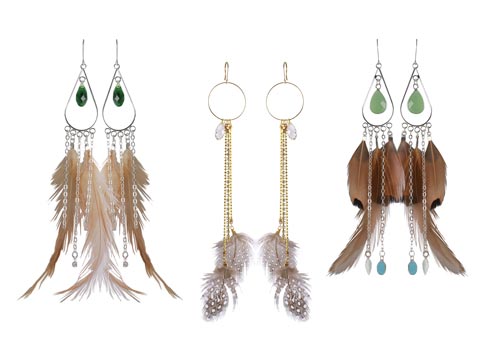
Smyks has got a wide variety of jewellery feathers to pick from. In this DIY article we will show you a delicate jewellery collection made with turkey and Guinea fowl feathers in various colours.
You can combine the different kinds of feathers to create charming, self-invented designs and play with colours and patterns or you do it the easy and convenient way by using the same ready-made feather decorations we assembled our earrings and necklaces with.
These lovely feathers can be used for a lot of ornamental things other than jewellery. You can for example decorate bags with them or craft a dreamcatcher.
Earrings with turkey and Guinea fowl feathers
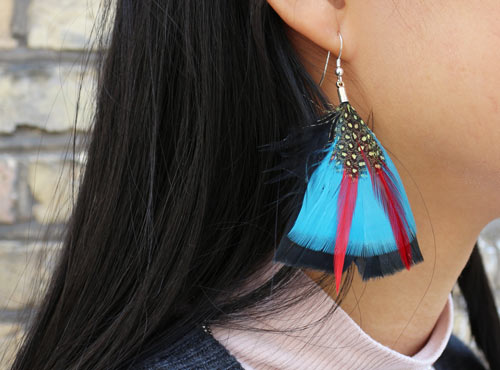
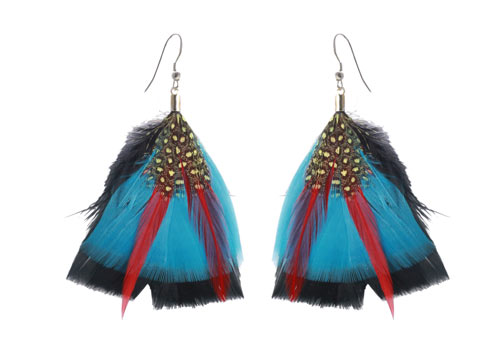
We used the following materials to assemble these earrings:
- 2 pieces of feather decoration, Guinea fowl and turkey, blue or green
- 2 cord ends, silver-plated brass
- 1 pair of earwires with spiral and ball, sterling silver
- jewelleryglue
First, you trim the shaft of the feather to make it fit into the cord end. Then you apply a bit of adhesive in the cord end and glue the feather into it. After that, open the eyelet of the earwire carefully, insert the cord end and close the eyelet again carefully.
Earrings with feathers and crystals
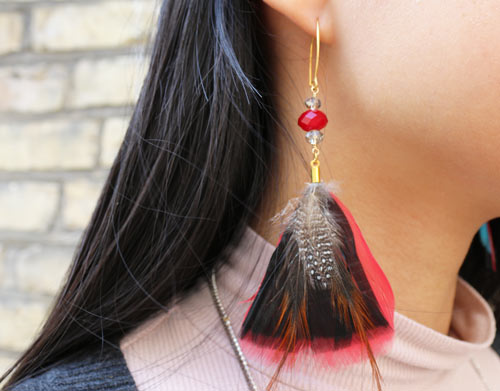
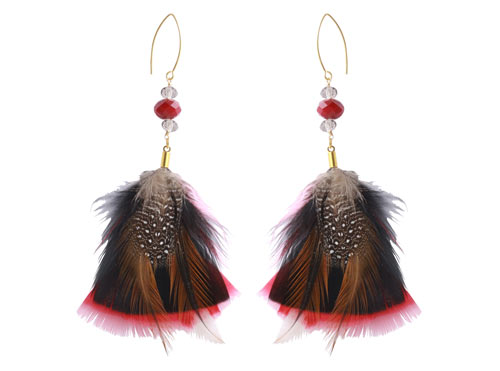
We used the following materials to assemble these earrings:
- 2 pieces of feather decoration, Guinea fowl and turkey, red
- 2 cord ends, gilded brass
- 20cm wire,0.5mm, gilded sterling silver
- 6 crystals
- 1 pair of earwires, gilded sterling silver
- jewellery glue
- 1 pair of round-nose pliers
- 2 pairs of chain-nose pliers
First, you trim the shaft of the feather to make it fit into the cord end. Then you apply a bit of adhesive in the cord end and glue the feather into it. Next, you take approx. 100 cm of wire and make an eyelet which – in the process – is fastened to the cord end’s eyelet. (Click here to learn how to make an eyelet.) Now you string the chosen amount of crystals on the wire and close the wire with another self-made eyelet. Finally, you open the earwire’s eyelet carefully, insert the new wire eyelet and close the earwire eyelet again.
Earrings with turkey and Guinea fowl feathers – green
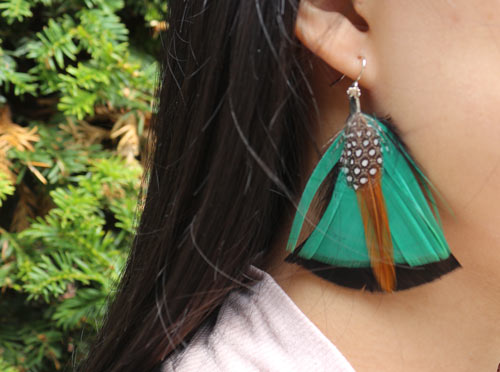
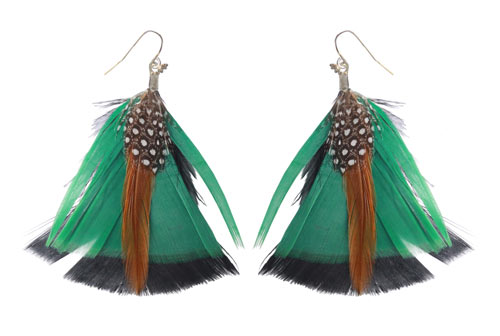
We used the following materials to assemble these earrings:
- 2 pieces of feather decoration, Guinea fowl and turkey, green
- 2 fold-over cord ends, silver-plated brass
- 1 pair of earwires with little flower, sterling silver
- 1 pair of flat-nose pliers
- jewellery glue
First, you trim the shaft of the feather to make it fit into the fold-over cord end. Then you apply a bit of adhesive in the cord end and glue the feather into it. Take a pair of flat-nose pliers and press the cord end together. Next, you open the earwire’s eyelet on the a bit, insert the cord end with the feather and close the eyelet again.
Necklace with turkey and Guinea fowl feathers – blue
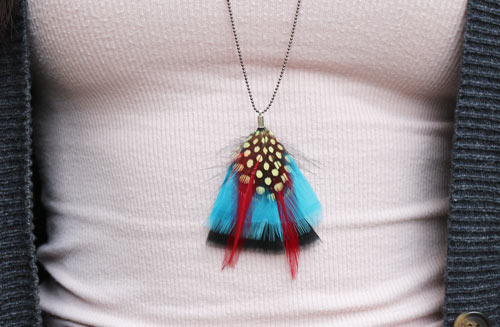
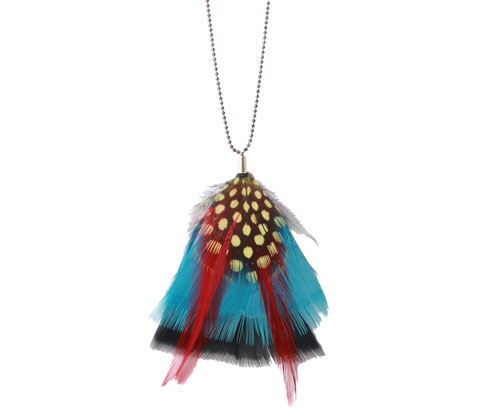
We used the following materials to assemble this necklace:
- 1 piece of feather decoration, Guinea fowl and turkey, blue
- 1 cord end, silver-plated brass
- 80cm ball chain incl. connector, black brass
- jewellery glue
First, you trim the shaft of the feather to make it fit into the cord end. Then you apply a bit of adhesive in the cord end and glue the feather into it. After that you slide the ball chain through the cord end’s eyelet. The chain is long enough to be pulled over the head and is therefore closed with the provided connector.
Necklace with turkey and Guinea fowl feathers – green
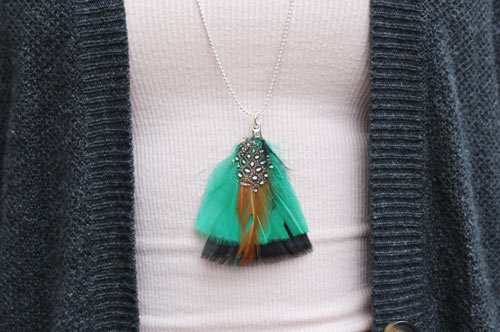
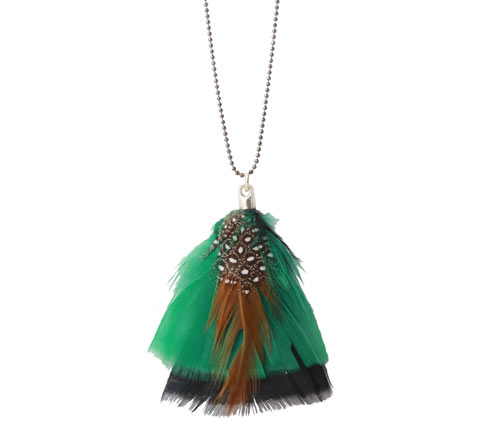
We used the following materials to assemble this necklace:
- 1 piece of feather decoration, Guinea fowl and turkey, green
- 1 cord end, silver-plated brass
- 1 jumpring, 5mm, silver-plated brass
- 80cm ball chain incl. connector, black brass
- jewellery glue
First, you trim the shaft of the feather to make it fit into the cord end. Then you apply a bit of adhesive in the cord end and glue the feather into it. Connect the cord end’s eyelet with the jumpring (In this earlier DIY article you can learn how to open and close a jumpring correctly.), then you slide the ball chain through the jumpring. The chain is long enough to be pulled over the head and is therefore – quite simply – closed with the provided connector.
Browse our earlier DIY tutorials on jewellery with feathers:
Accessories with feathers
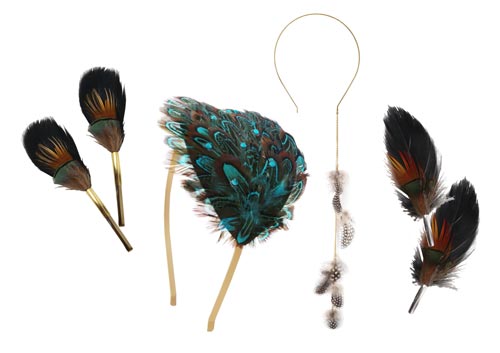
Earrings with feathers
All jewellery components shown in the pictures are available in silver and gold-plated silver.
Have fun making your own jewellery!

We will publicly show your name and comment on this website. Your email is to ensure that the author of this post can get back to you. We promise to keep your data safe and secure.