DIY Swarovski crystal earrings

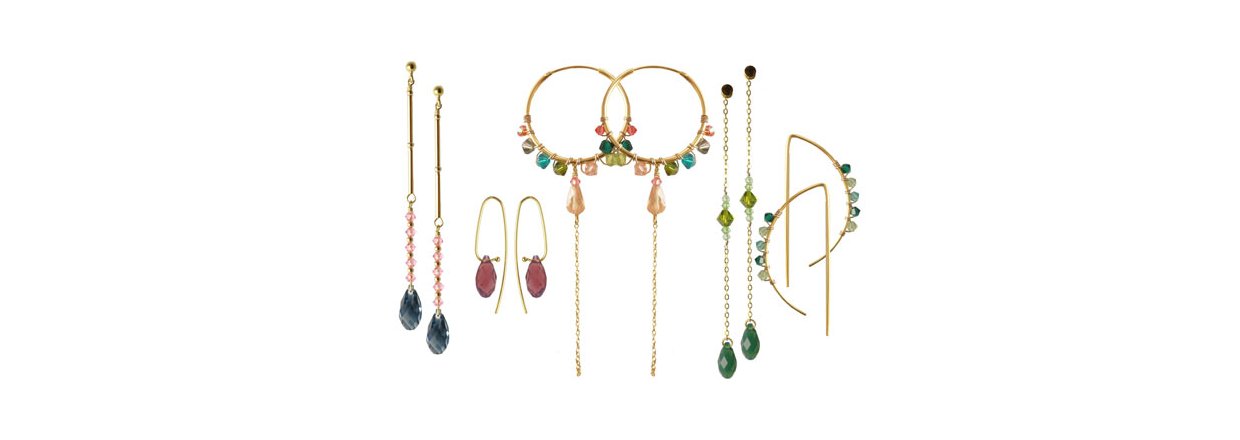
In this DIY blog post you find inspriration and instructions on how to make exclusive DIY Swarovski crystal earrings.
The crystal beads by Swarovski are certainly the most popular crystals when it comes to making jewellery – be it bracelets, earrings or pendants for necklaces. For decades the brand Swarovski has been synonymous with high quality crystals.
Now you can make your own unique earrings which match the festive gowns you are going to wear at Christmas parties or on New Year’s Eve.
You will always find a vast assortment of the most popular crystal shapes at Smyks’.
Go to Swarovski crystals.
Hoops with Swarovski bicone beads
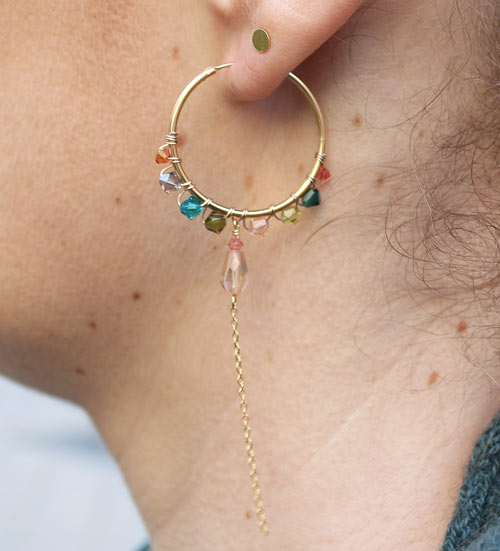
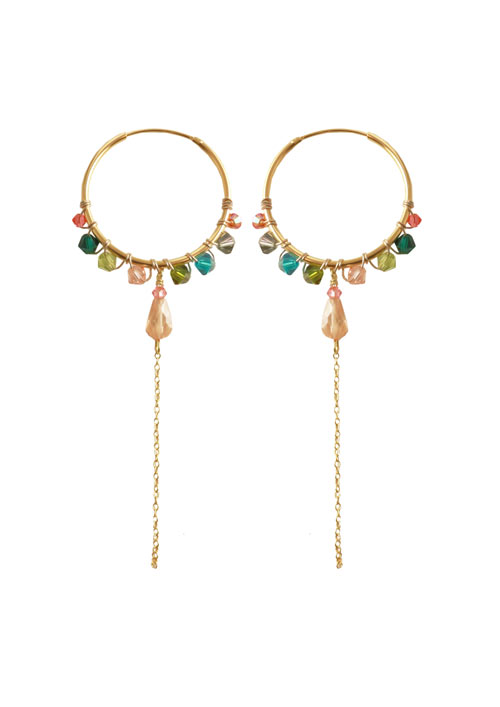
We used the following materials to make these DIY Swarovski crystal earrings :
- 1 pair of hinged hoops, 30mm, gilded sterling silver
- 4 Swarovski bicones, 3mm, padparadascha
- 2 Swarovski bicones, 3mm, rose peach
- Swarovski bicones, 4mm, in following colours:
black diamond
zenith blue
olive-green
light rose
emerald - 2 zirkonia, flat teardrops, light brown
- 2 x 20cm wire, 0.4mm, gilded sterling silver
- 2 eyepins, gilded sterling silver
- 8cm cable chain, AR30, gold plated sterling silver
- flat-nose pliers
- chain-nose pliers
- cutting pliers
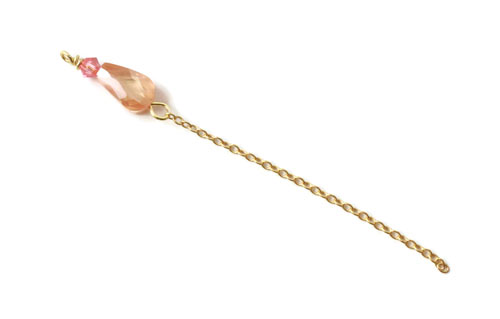
First, you open the ee of the eyepin, insert the chain and close the eye again.
Next, you string the teardrop and the Swarovski bead onto the pin. Afterwards, you make a loop with the rest of the wire. In our Smyks guide ”The famous loop”, we explain how to do that.
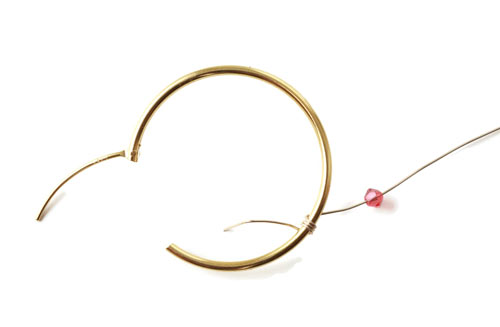
Now all the beads are ready to be wound around the hoop. Please go to our earlier blog post ”Wrap earrings” for wrapping instructions.
Earrings with Swarovski crystals
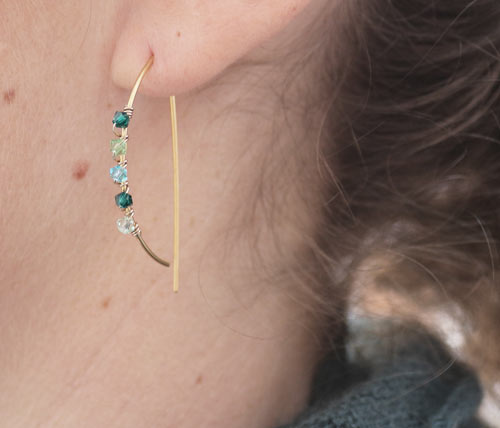

We used the following materials to make these earrings:
- 1 pair of earwires, p-shaped, gilded sterling silver
- 2 Swarovski crystal bicones, 3mm, zenith blue opal
- 4 Swarovski crystal bicones, 3mm, emerald
- 4 Swarovski crystal bicones, 3mm, peridot
- 2 x 15cm wire, 0.4mm, gilded sterling silver
- chain-nose pliers oder flat-nose pliers
- cutting pliers
Please go to in our earlier blog post on ”Wrap earrings” for step-by-step instructions on how to wrap the beads onto the earring with wire.
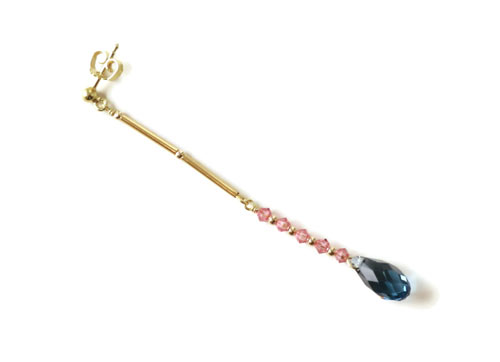
Earrings with Swarovski crystal teardrops
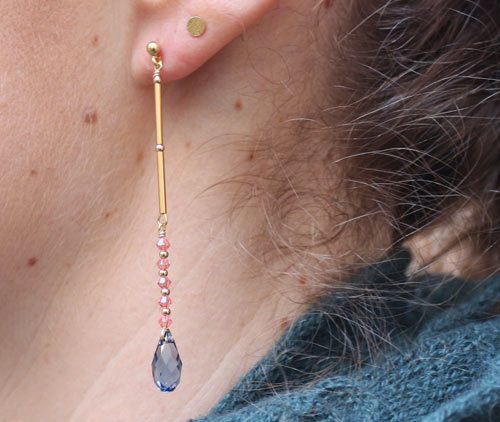
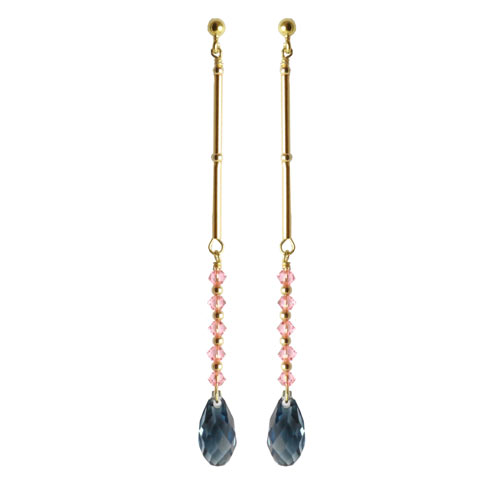
We used the following materials to make these earrings:
- 1 pair of earstuds with ball and eyelet, gilded sterling silver
- 4 eyepins, gilded sterling silver
- 4 tube beads, 13 x 1.5mm, gilded brass
- 12 gilded beads, 2mm
- 10 Swarovski crystal bicones, 3mm, rose peach
- 2 Swarovski crystal teardrops, denim blue
- chain-nose pliers
- flat-nose pliers
- cutting pliers
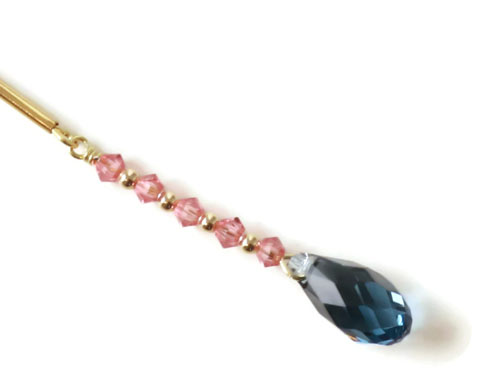
First, you open the eye of the eyepin carefully. Then, you insert the Swarovski crystal teardrop and close the eye again. Pull the eye carefully through the teardrop in order not to break it. Crystal glass is fragile.
Next, you string string the beads – alternately a crystal and a gilded bead – onto the pin. You close the wire by making a loop using flat-nose pliers. In our Smyks guide ”The famous loop”, we explain how to do that.
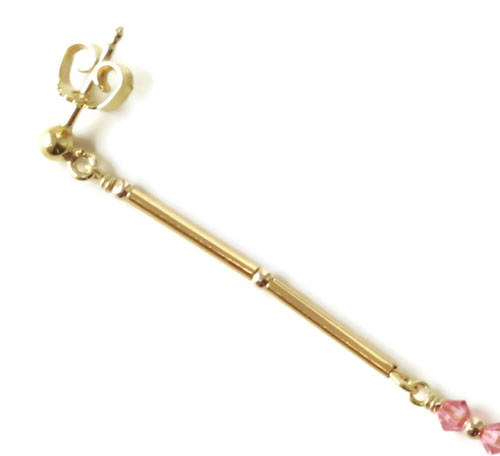
Then, you open the eye of the second eyepin, insert the self-made loop and close the eye again. After that, you string the tubes and beads onto the pin and close it by making loop again.
Finally, you open the eyelet of the earstud, aesten the eyepin and close the eyelet again.
Earring with chain and Swarovski crystals
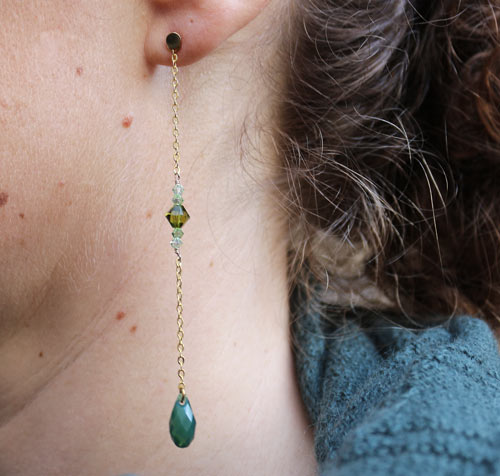
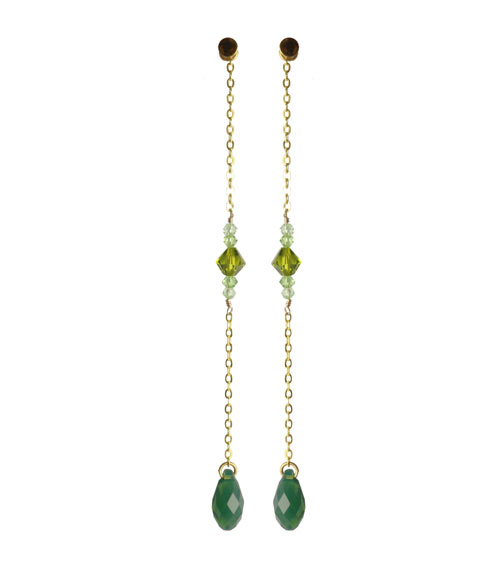
We used the following materials to make these earrings:
- 1 pair of earstuds with flat pad, 4mm, gilded sterling silver
- 12cm cable chain, glided brass
- 4 jumprings, 4mm, gilded sterling silver
- 12cm wire, 0.4mm, gilded sterling silver
- 2 Swarovski crystal teardrops
- 2 Swarovski crystal bicones, 6mm, green
- 8 Swarovski crystal bicones, 3mm, peridot
- chain-nose pliers
- flat-nose pliers
- cutting pliers
First, you cut the chain to size. For this example we used 4 pieces à 3cm.

Then, you take a piece of wire, make a loop, insert the chain into the loop and close the loop by winding the wire around it. In our Smyks guide ”The famous loop”, we explain how to do that.
Next, you string the crystals onto the wire. When you are done with that, you connect the wire with the other piece of chain as you did before. Now, the chosen Swarovski crystals are integrated into the chain.
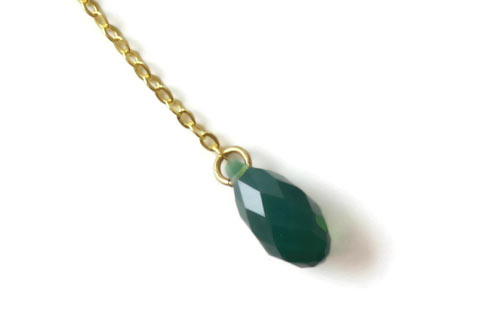
Take a 4mm jumpring and fasten the crystal teardrop to one end of the chain with it. Be careful when you pull the jumpring through the Swarovski crystal drop, otherwise it might break
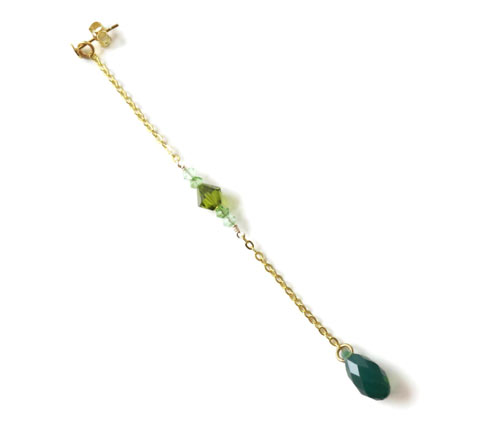
Finally, you attach the other 4mm jumpring to the other end of the chain.
Now you can hang the finished chain into earstuds or earwires. For our example here, we chose earstudes with a flat pad.
Earwires with Swarovski crystal teardrops
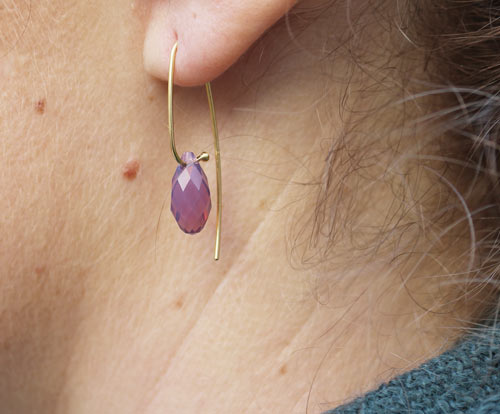
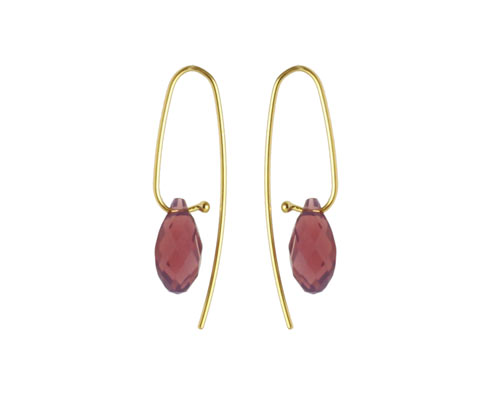
We used the following materials to make these Swarovski crystal earrings:
Pull the teardrop carefully onto the earwire. Be especially cautious when you pull it around the curve.
Have fun making your own jewellery!
We will publicly show your name and comment on this website. Your email is to ensure that the author of this post can get back to you. We promise to keep your data safe and secure.