Beautiful do-it-yourself jewellery with large baroque keshi freshwater pearls
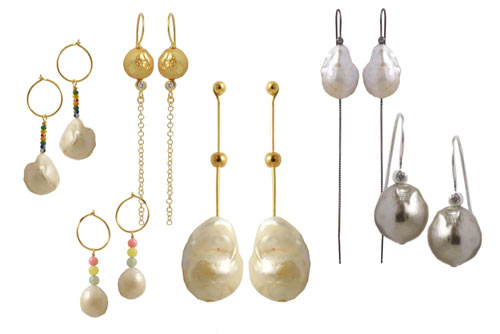
Here we show you inspirational earrings and necklaces simply made with baroque freshwater pearls, also known as keshi pearls or baroque pearls. These types of freshwater pearls are an interesting counterpart to traditional cultured pearls because they differ significantly in size and shape and are perfect as centrepieces of jewellery designs that are different and unique.
A keshi pearl is actually a pearl which was rejected by the mussel or was deformed in another way during its formation.
The shape of a keshi pearl is asymmetric and baroque, that’s why they are considered a by-product of the classic pearl production which idealises evenness and uniformity. Baroque freshwater pearls or keshi pearls often come in interesting shapes like elliptic, flat, drop-shaped etc.
Please note that there are not two pearls of this type which are perfectly alike. That can be a challenge for a jewellery designer. But on the other hand, this is an important part of their charm.
When you place an order in the Smyks webshop, we will ensure that the two pearls you will receive match as well as it is possible.
We offer baroque pearls in several colours and sizes. Click here to browse our complete assortment of baroque freshwater pearls.
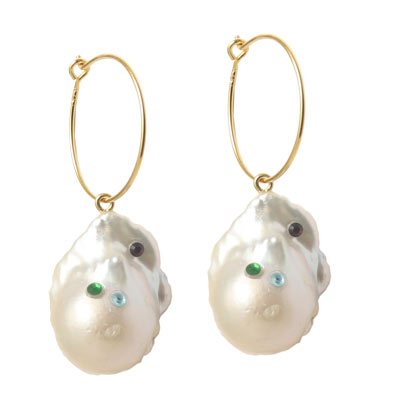
It is possible to decorate the beads by gluing the small rhinestones as shown above. You can find the rhinestone with flat back here.
Earstuds with large baroque pearl
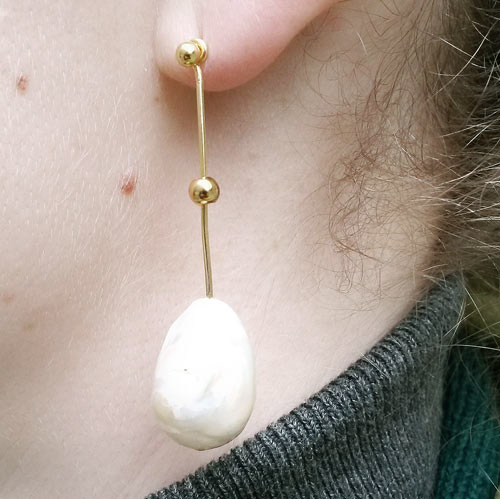
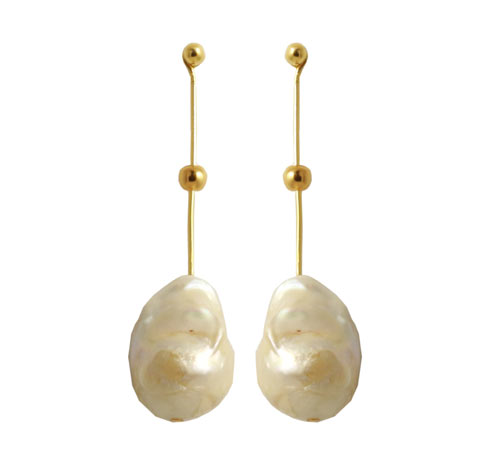
We used the following materials to assemble these earrings:
- 2 baroque pearls, 22-23x14 mm, off-white
- 1 pair of earstuds with ball and pin, gilded sterling silver
- 2 locking beads, 4mm, gilded sterling silver
- jewellery glue
First, you place the locking bead on the pin. Their is a rubber membrane inside the locking bead which keeps it in place. That’s why you don’t need to apply jewellery glue.
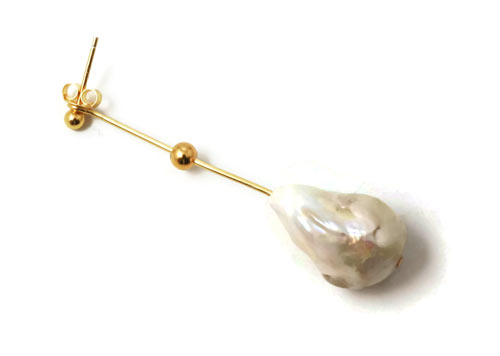
Next, you glue the pin into the baroque pearl. You can close the hole on the other side of the pearl by gluing the lower part of a headpin into it.
Earrings with large baroque pearl and chain
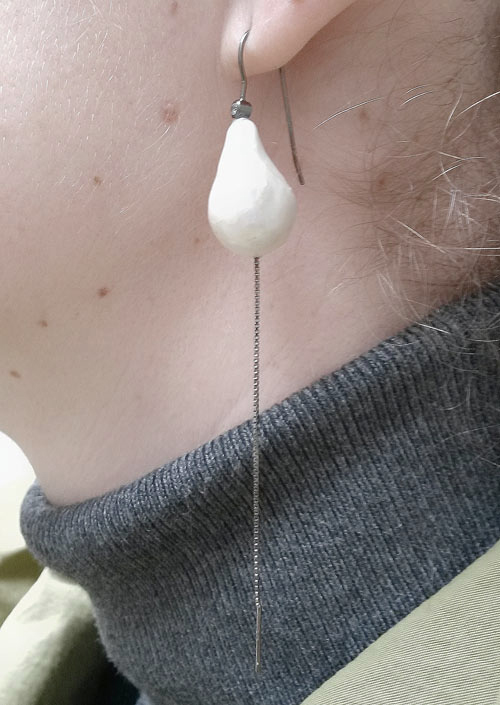
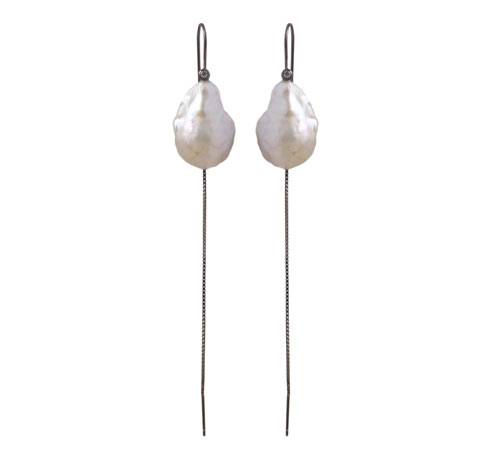
We used the following materials to assemble these earrings:
- 2 baroque pearls, 12-16x11mm, off-white
- 1 pair of earwires with peg and crystal, oxidised sterling silver
- 1 pair of earthreads with pegs, 8cm, oxidised sterling silver
- jewellery glue
For this version you glue the earwire into one of the pearl’s holes and the earthread into the other.
Earrings with baroque pearl and crystal
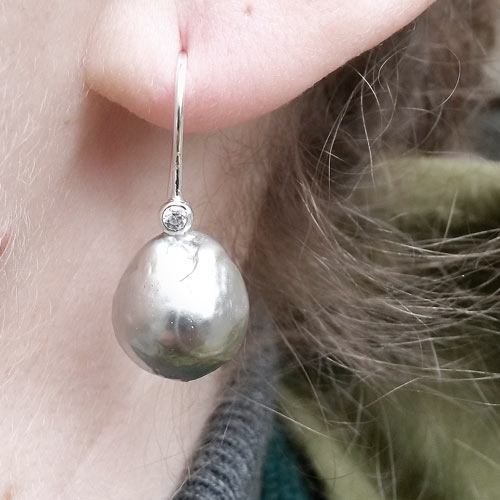
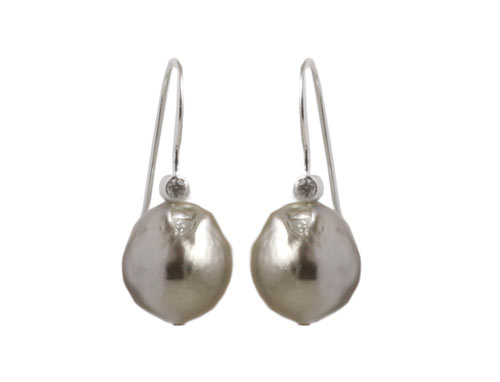
We used the following materials to assemble these earrings:
- 2 baroque pearls, silver grey
- 1 pair of earwires with peg and crystal, sterling silver
- jewellery glue
Glue the earwire’s peg into the pearl’s top. Additionally, you can close the other hole with the lower part of a headpin.
Hoops with baroque pearl and seed beads
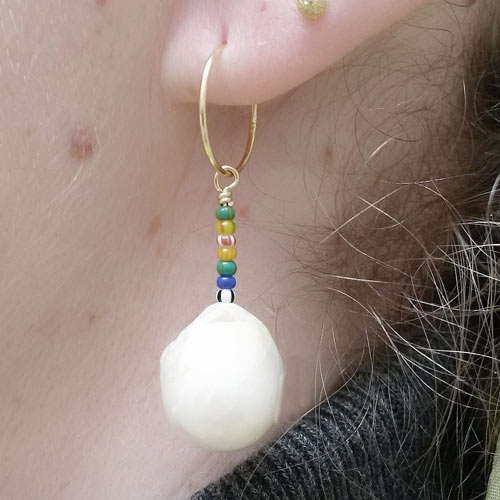
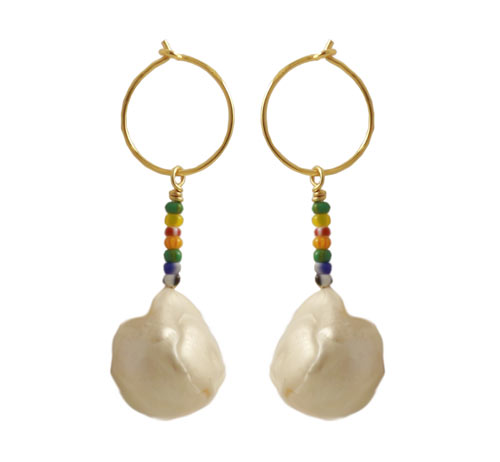
We used the following materials to assemble these earrings:
- 2 baroque pearls, off-white
- 1 pair of hoops, 15cm, gilded sterling silver
- 2 headpins with plate, gilded sterling silver
- round-nose pliers
- chain-nose pliers
- flat-nose pliers
First you thread the pearl and then the seed beads onto the headpin. After that, you make a loop with the rest of the wire. In our jewellery guide section you can read how to make a loop. Finally, you hang the loop into the hoop.
Hoops with baroque pearl and gemstone beads
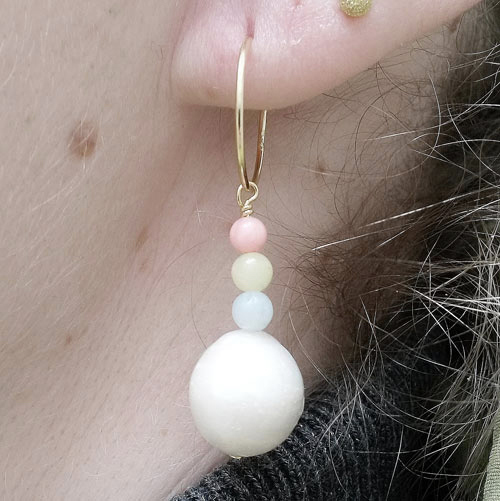
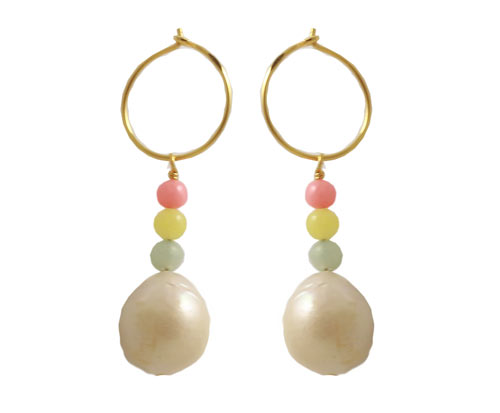
We used the following materials to assemble these earrings:
- 2 baroque pearls, 17-19x14mm, off-white
- 2 headpins with plate, gilded sterling silver
- 1 pair of hoops, 15cm, gilded sterling silver
- 2 Amazonite beads, 4mm
- 2 yellow jade beads, 4mm
- 2 Candy Jade, light rose beads, 4mm
- round-nose pliers
- chain-nose pliers
- flat-nose pliers
- side cutters pliers
alternatively pliers set
First you thread the pearl and then the gemstone beads onto the headpin. After that, you make a loop with the rest of the wire. In our jewellery guide section you can read how to make a loop. Finally, you hang the loop into the hoop.
Earrings with baroque pearl, crystal and chain
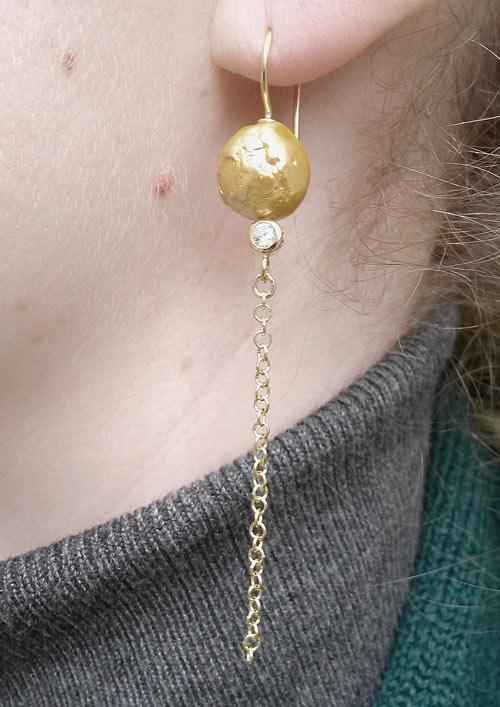
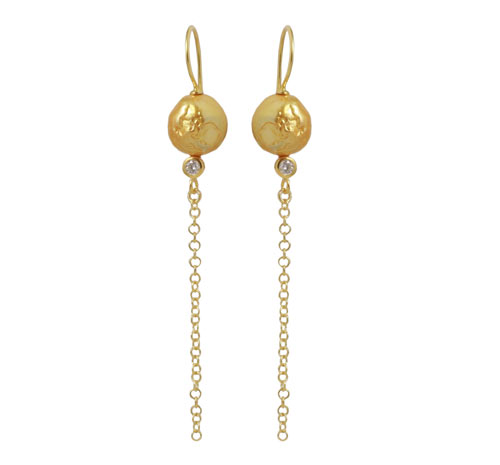
We used the following materials to assemble these earrings:
- 2 baroque pearls, 12-14x11mm, golden
- 1 pair of earwires with cup, gilded sterling silver
- 2 eyepins with cubic zirconia, gilded sterling silver
- ca. 10cm small cable chain, gilded sterling silver
- 2 jumprings, 3mm, gilded sterling silver
- jewellery glue
Take a jumpring with 3mm diameter and connect the cable chain to the eyepin. In our blog post on men’s necklaces we explain how to open and close a jumpring correctly.
Next, you glue the eyepin into one of the pearl’s holes. Finally, you glue the peg of the earwire into the other hole.
Long earwires with baroque pearls
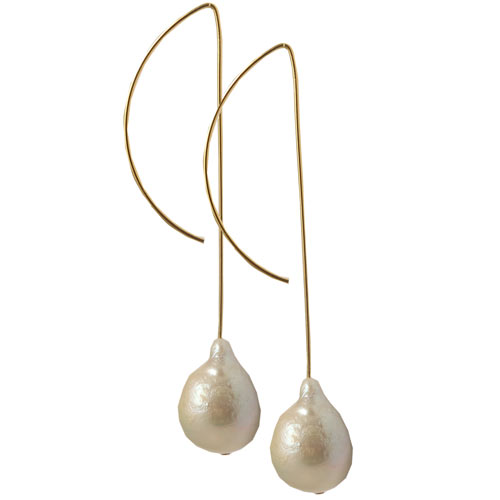
You need the following materials to make these earwires:
- 1 pair of P-shaped earwires
- 2 baroque freshwater pearls 12-16x11mm
- bead reamer (optional)
- jewellery glue
To make these earrings, you simply glue the pearls onto the wire of the P-shaped earwires. Normally, the hole is large enough to fit the diameter of the wire, but it is a good idea to invest in a good bead reamer, so you can broaden the hole if necessary. The wire should go 4mm deep into the pearl and be glued in there. You can cover the holes in the bottom of the pearls by gluing the flat pads of headpins into them. This will look as if the earwires went all the way down. If you think that the earrings are too long, you can cut the wire to size before you fasten the pearls.
Necklace with large baroque pearl pendant
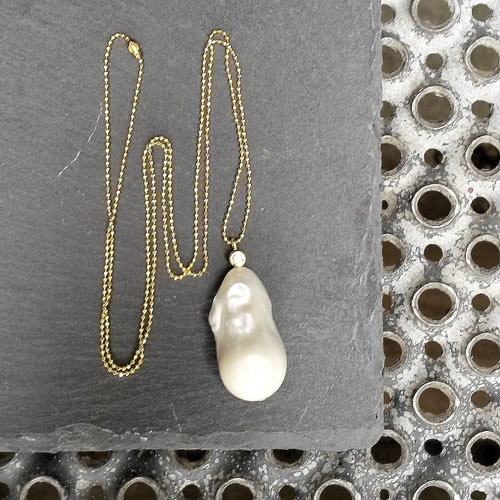
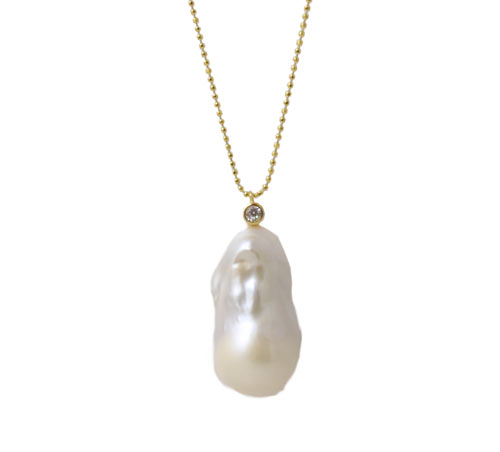
We used the following materials to assemble this necklace:
- 1 baroque pearl, large, 20-24x15mm off-white
- 2 eyepins with cubic zirconia, gilded sterling silver
- ca. 60cm ball chain, 1.2mm, gilded sterling silver
- 1 ball chain connector
- jewellery glue
Glue the eyepin into the pearl, pull the ball chain through the eye of the eyepin and close the chain with the ball chain connector.
We don’t include a clasp because the chain is 60cm long and can be pulled over the head.
Have fun making your own jewellery!
Broken links or questions / comments concerning keshi pearl jewellery? Please write to us in the commentary field below or info@smyks.com. Thank you!

We will publicly show your name and comment on this website. Your email is to ensure that the author of this post can get back to you. We promise to keep your data safe and secure.