


The classic loop on a pearl or bead
Below, we’ll show you how to create traditional earrings finished with the classic loop on a pearl or bead. There are certainly other techniques, but this method works reliably. Do arm yourself with a little patience and expect varying degrees of success the first few times you try it – you may well end up discarding a few eyepins along the way.
Once you’ve learned the steps, however, you’ll be able to make an earring in around five minutes, which isn’t bad at all.
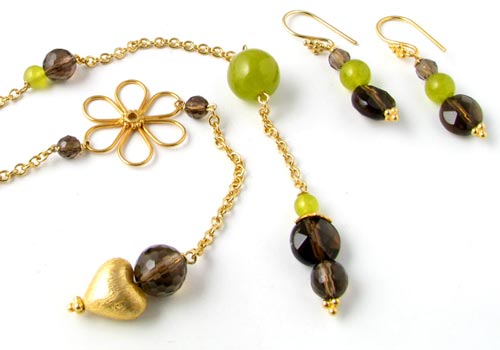
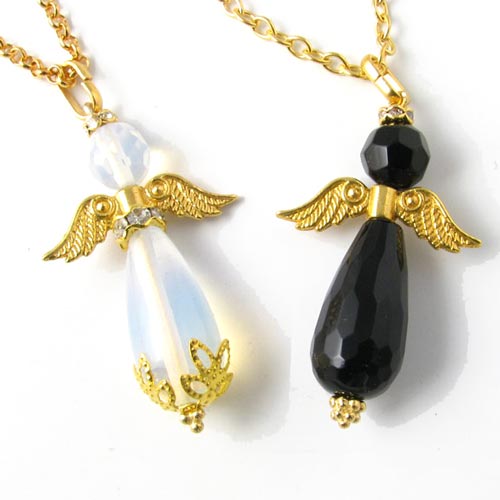
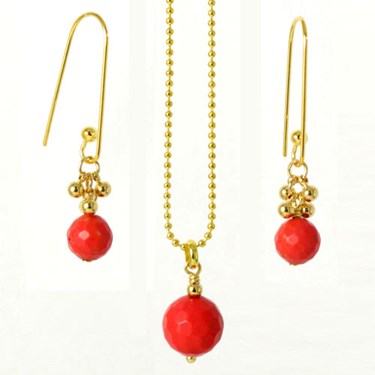
Eyepins with loops are useful for many types of jewellery beyond earrings. With this technique, you can easily create charms and pendants for bracelets, necklaces and more. At the bottom of this page, you’ll find a few alternative examples.
For the following example, you will need the materials listed below:
Eyepin, gilded brass
Round-nose pliers, chain-nose pliers, side-cutter pliers
Onyx bead 10 mm
Gilded bead caps (optional)
First, choose an eyepin. For this project, I’ve chosen a sturdy gilded‑brass eyepin measuring 0.75 mm. Thinner eyepins are generally easier to work with, but a thicker one gives a slightly more robust finish.
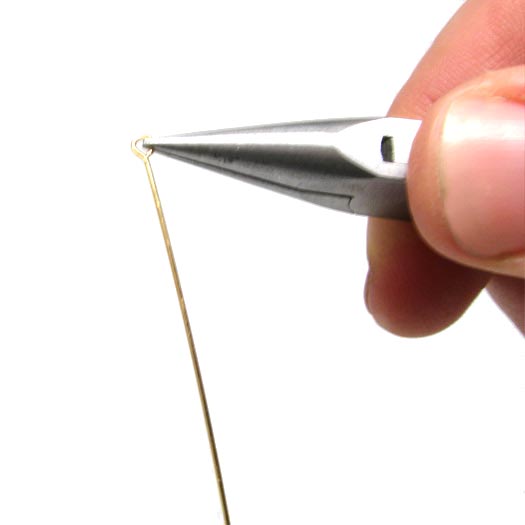
Use your chain‑nose pliers as shown above and open the loop of the eyepin by gently bending it to the side.
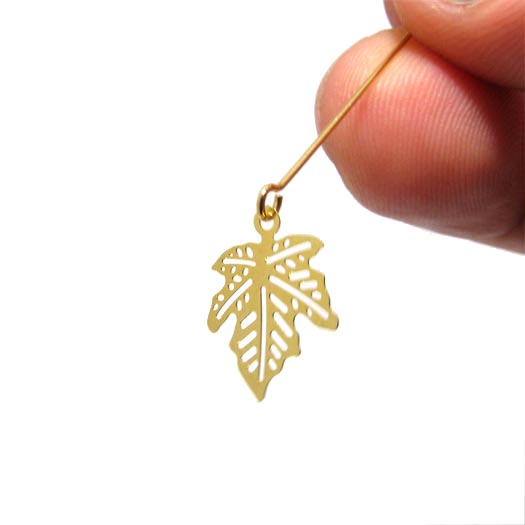
Place the pendant onto the pin, then close the loop again.
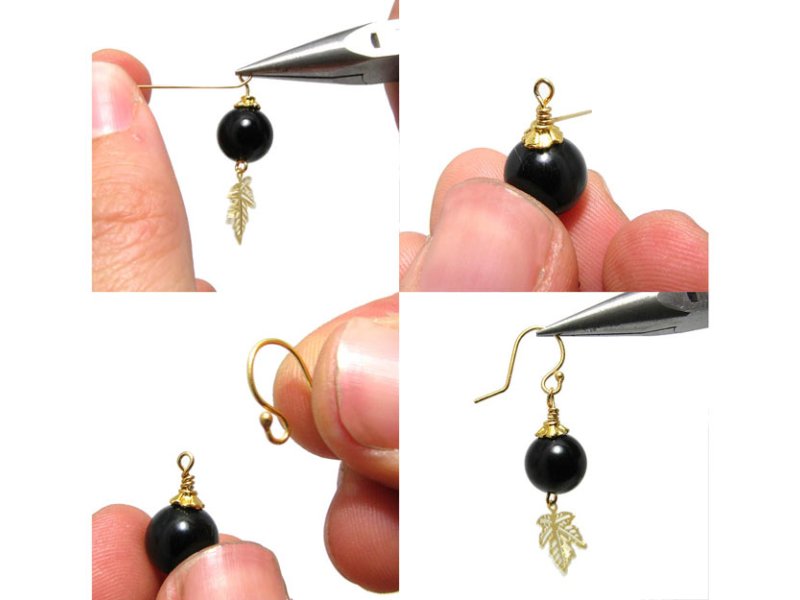
Thread the bead or pearl onto the pin, and add a bead cap if you’re using one.
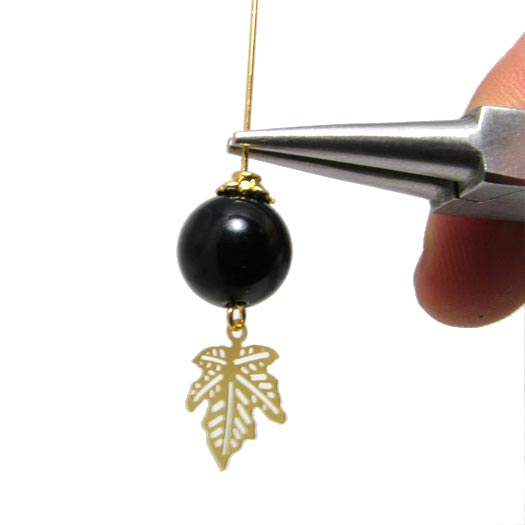
Now take your round‑nose pliers – the ones with the two cone‑shaped jaws.
Grip the eyepin about 2 mm above the last bead or cap.
Hold the bead steady, then bend the pin until it sits horizontally.
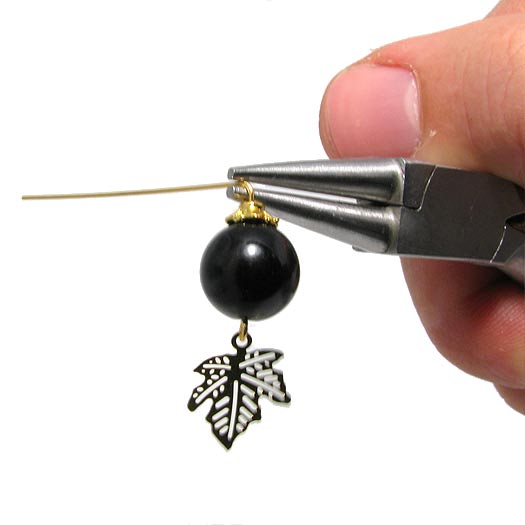
Now use your fingers to hold the tip of the eyepin while keeping the pliers steady. Pull the eyepin up and over the upper jaw of the pliers to begin forming the loop.
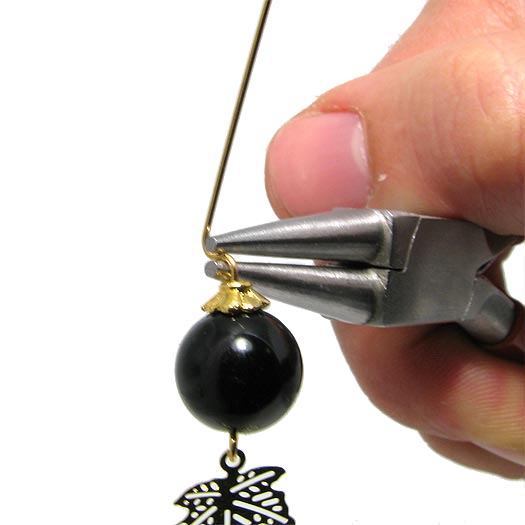
Pull the pin all the way around the jaw, keeping the pliers – and the rest of the pin – steady as you work.
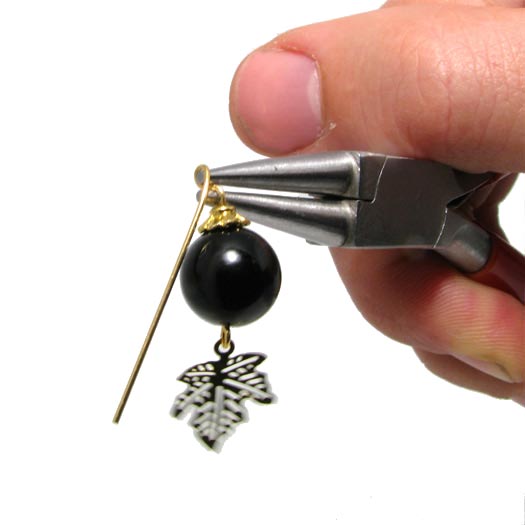
When the pin has been pulled almost 360 degrees around the jaw, grip the bead and use the pliers to push the pin the rest of the way, bringing it back to a vertical position. Keep a firm hold on the pliers throughout.
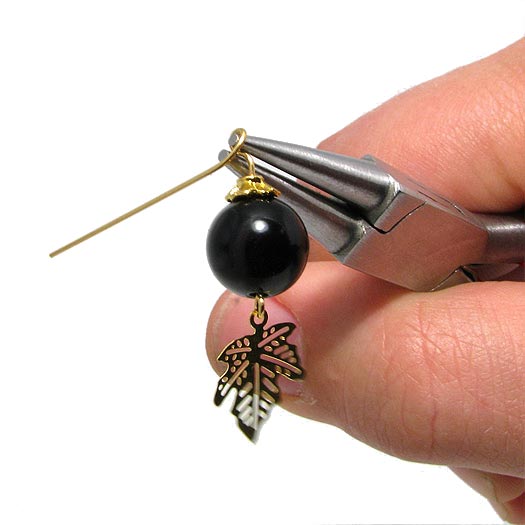
Now you can remove the pliers and admire the neat, perfectly formed loop.
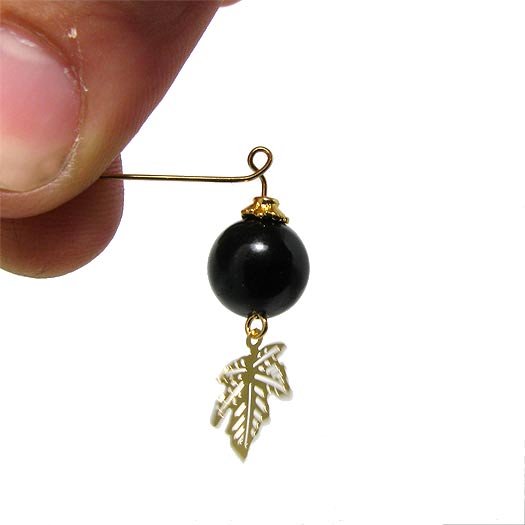
Find your chain‑nose pliers. Grip the loop with the pliers, as shown below.
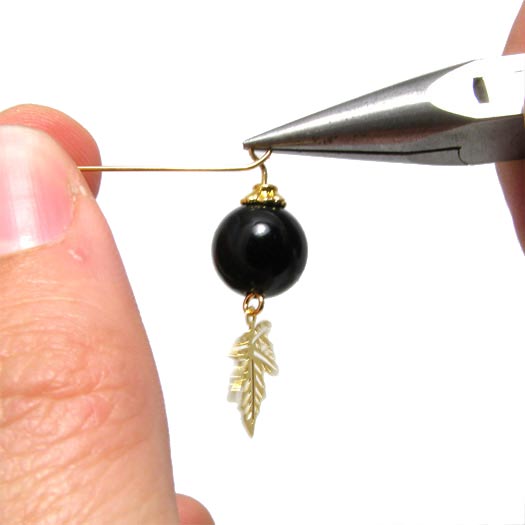
Again, use two fingers to hold the tip of the eyepin while keeping the pliers steady.
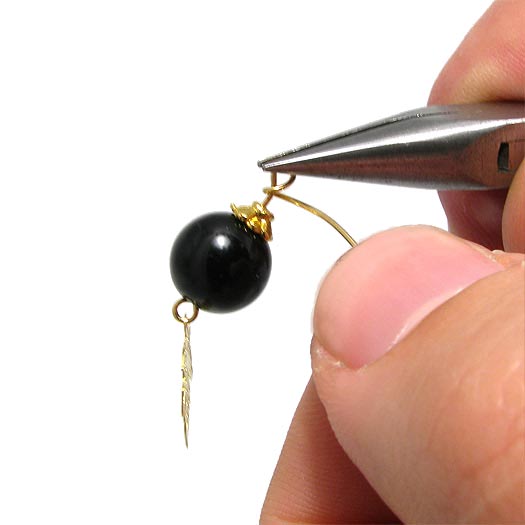
Keep the pliers as steady and consistent as possible, holding them firmly in place while you bend the eyepin around the loop.
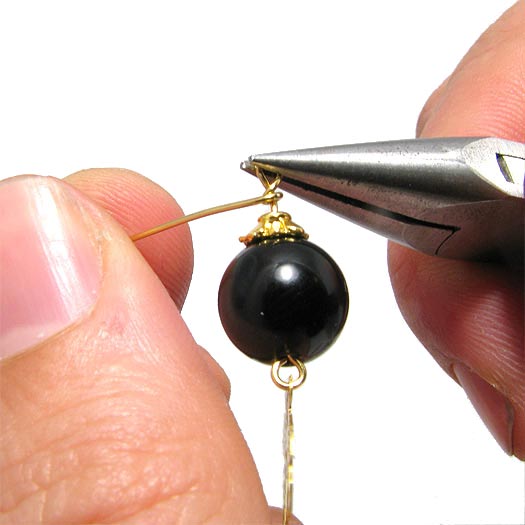
…an further around.
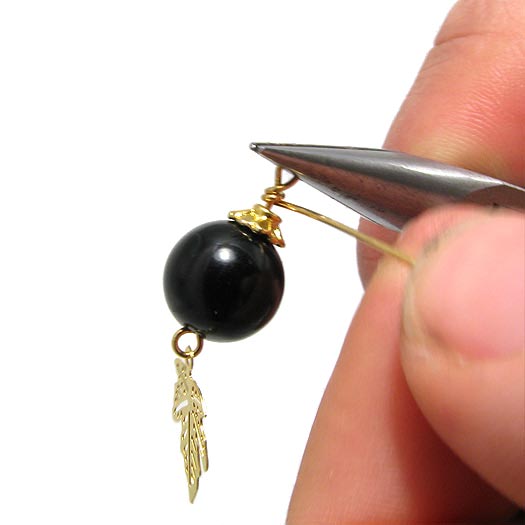
…and further around again.
Keep repeating this movement until the wire reaches the uppermost bead in the earring, as shown above/below.
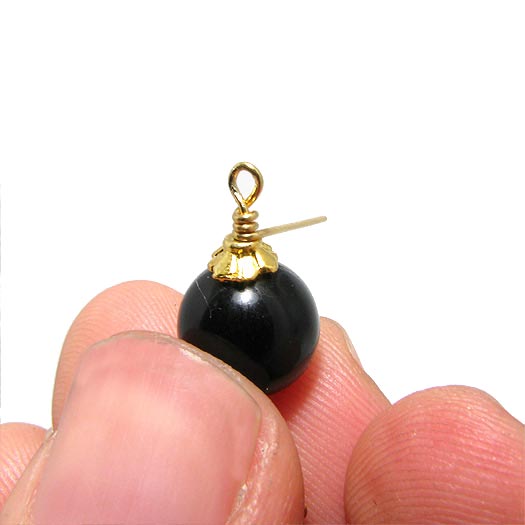
Now remove the excess length of the pin with a pair of side‑cutters. Use a pointed side‑cutter so you can get as close to the twisted section as possible. Cut off the remaining wire cleanly.
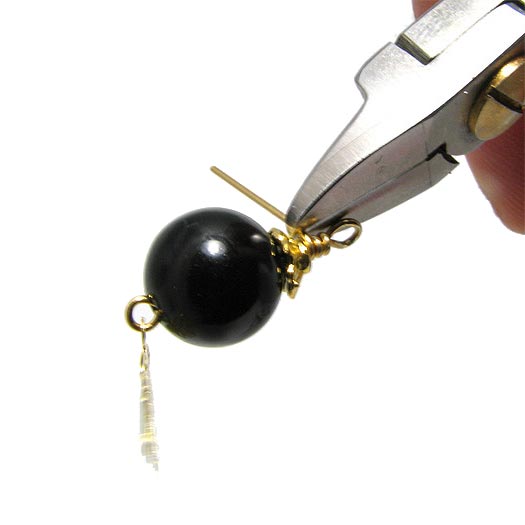
There may be a small piece of wire sticking out.
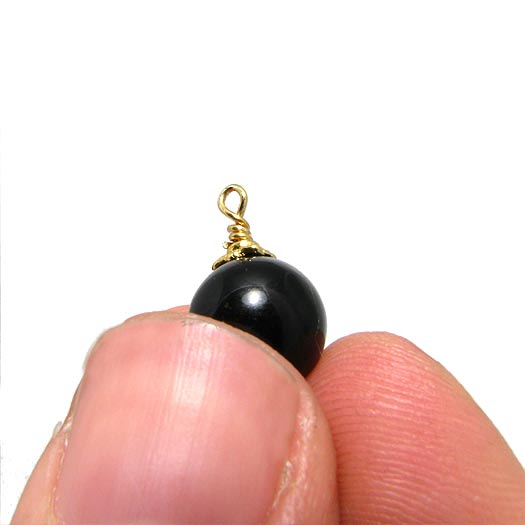
Use your chain‑nose pliers to tuck it neatly under the twisted section, as shown above.
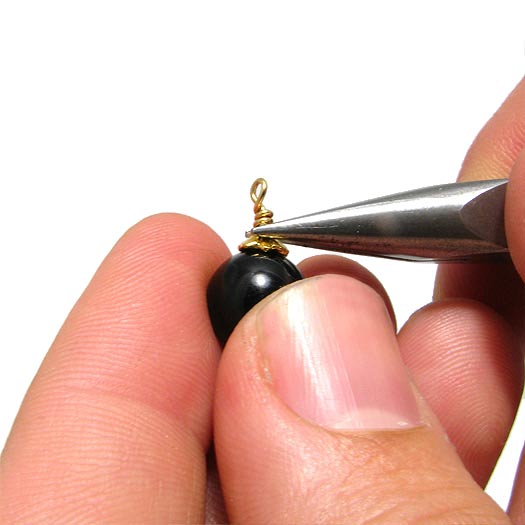
When your bead and loop are finished, choose an earpiece or hoop that you’d like the pendant to hang from. In this example, we’re using a classic French earwire with a drop. Open the hook just slightly so you can slip the loop into place.
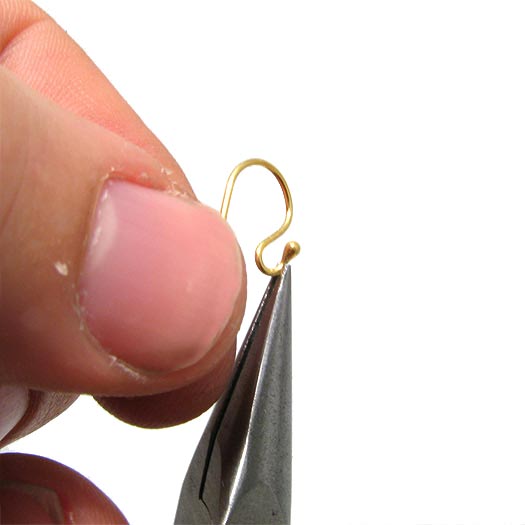
Place the loop onto the hook from the back, making sure the drop is not smaller than the loop. Then close the hook again, ensuring the bead and loop stay securely in place.
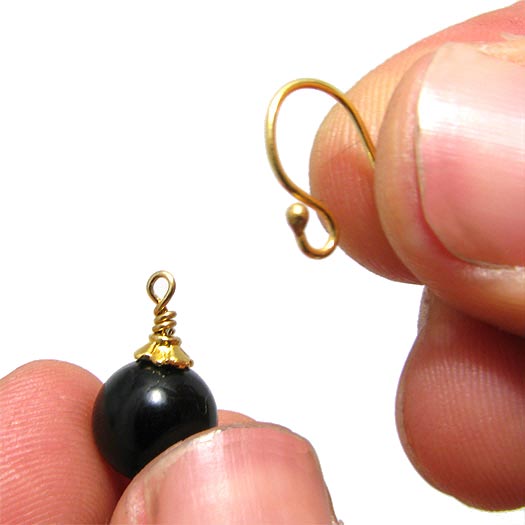
Finished.
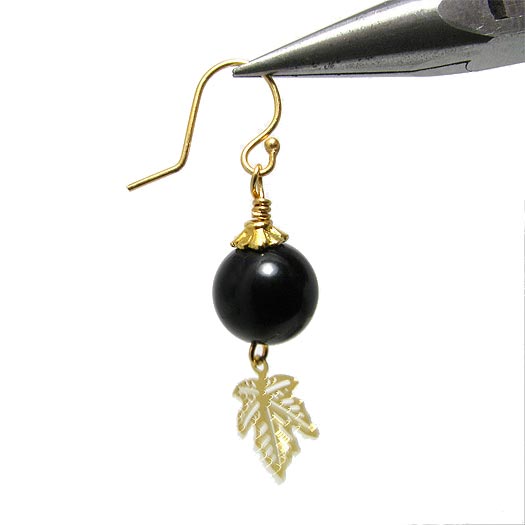
More Designs You Can Create with Loops
For questions, comments or suggestions, please use the comment field below.
We will publicly show your name and comment on this website. Your email is to ensure that the author of this post can get back to you. We promise to keep your data safe and secure.