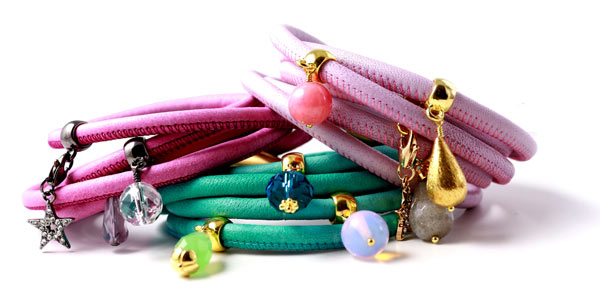
Make your own charms with jewelry parts from Smyks.com, here’s how.

A “charm” is usually a good-luck charm, and refers to an object with a symbolic meaning to the bearer. In our time, the name is mostly used in terms of jewelry. Whether or not you have made your bracelet from scratch yourself, or maybe want to freshen up an old bracelet, here you’ll learn how to make your completely own charms.
In the example, we’ve used the popular round, stitched lamb leather cord, a new edition in rustic sommer colours.

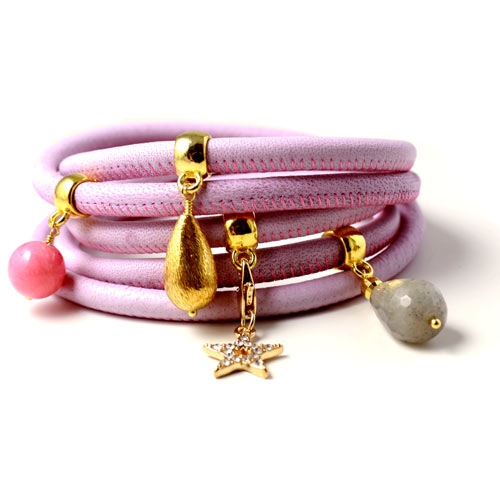
For this pink bracelet, the following materials are used:
1 meter of round-stitched skin cord (enough for 5 wraps around the wrist)
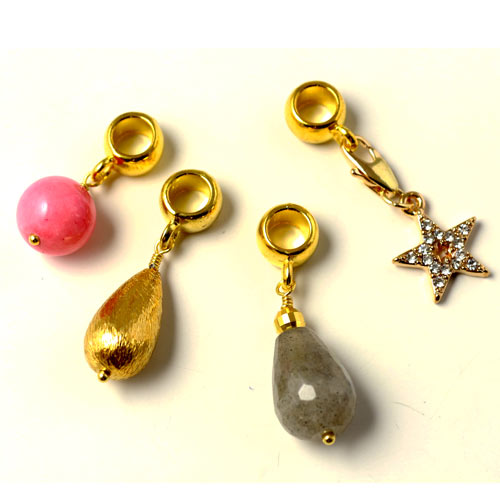
1pc. gilded teardrop
1pc. labradorite teardrop
1pc. 4mm gilded bead
1pc. 10mm jade pearl
1pc. star-shaped charm
3pcs. gilded headpins
4pcs. spacer bead with eye
1pc. 5 mm magnetic clasp
Jewelry adhesive
Round-Nose pliers, Flat-Nose pliers and side cutters

Put the pearl on the headpin and use a pair of Round-Nose pliers to bend an eye right above the pearl.

Feed the wier through the spacer before you finish off your charm by wrapping the wire a couple of times around its own “neck”, and lastly cutting the excess wire with a side cutter.
In this example, the eye is secured directly to the spacer, but you can choose to connect the two eyes with a jumpring in between.

Your charm is now secured to the spacer bead.
Note that you’ll find an assortment of alternative gilded, black or silver coated spacers at Smyks.com

Attach charms and pearls in the same manner. The star-shaped charm comes with a lobster clasp, which can just be attached.

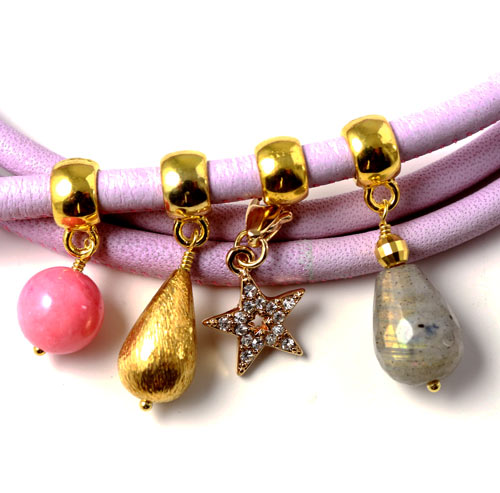
Your charms are now done and can be put onto the leather cord.

The ends of the cord are now glued to the magnetic clasp. Adhesive is put in a thin line along the inner walls of the clasp, and the end of the cord is carefully screwed inside the Cord End, so the glue is evenly distributed. If you chose this simple magnetic clasp with a cap, remember that the macnetic clasp needs to be disassembled before the leather cord is glued to the clasp, otherwise there’s a risk of gluing the whole clasp together.

Lastly, allocate the charms on the leather cord, so that they hang in the order you want. The bracelet is now done.
Have fun.

We will publicly show your name and comment on this website. Your email is to ensure that the author of this post can get back to you. We promise to keep your data safe and secure.