DIY Pearl necklace with genuine freshwater pearls on silk cord.
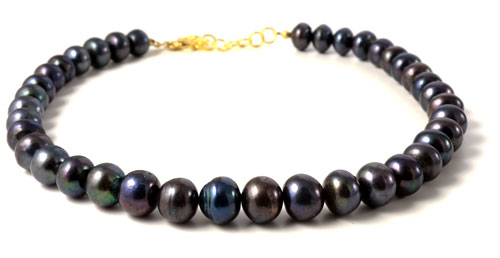
There are several different ways to make pearl necklaces, this guide shows you step by step how you make a pearl necklace with silk beading thread and one of the simplest kinds of closures. At Smyks you find a big assortment of silk beading threads for pearls, you can choose between several sizes and colours.
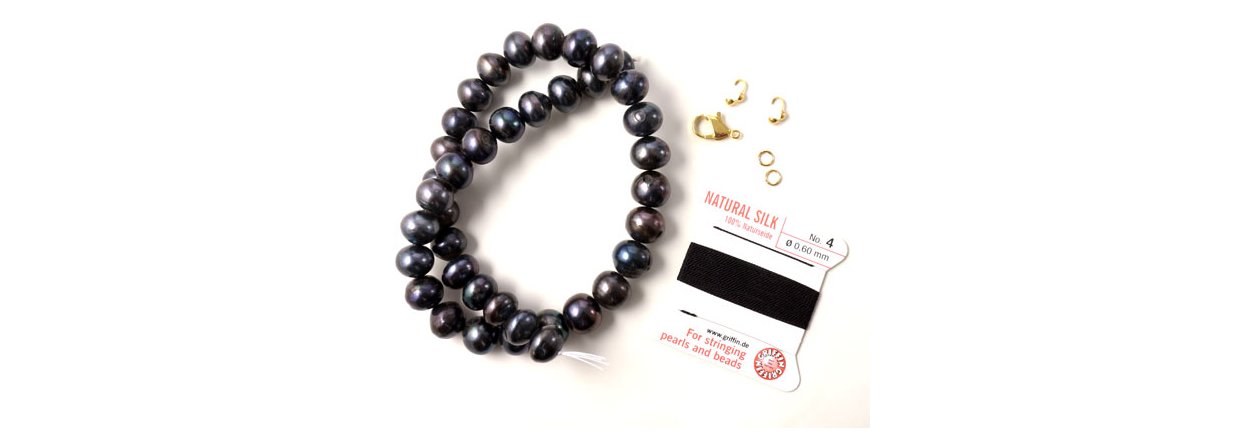
For this pearl necklace you need the following materials:
1 strand of beads. (One strand is approx. 40cm long. If you’d like the necklace a little longer, you can purchase 2 strands or attach a chain extendsion in the back.)
1pc. black 0.60mm silk beading thread
2pcs.gilded crimp ends
2pcs. gilded jumprings
1pc. gilded 11mm lobsterclaw clasp
Additionally, glue.
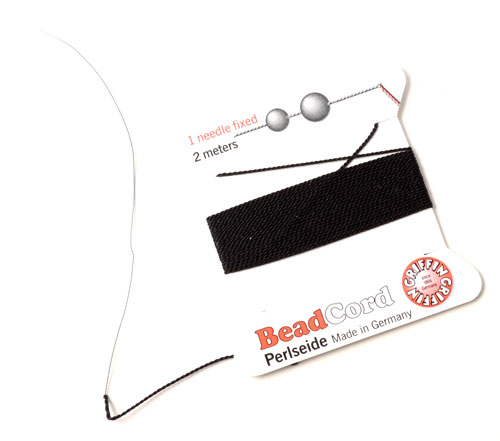
The silk thread is made of twined silk. There is 2 meters in one packet, and it has a needle attached to one of the ends. This makes it especially good at threading pearls with a small hole, e.g. freshwater pearls. Remember to undo the whole thread, making sure that you start from one of the ends. This means that when you cut the thread, you will still have a piece with the needle attached to it for later use.
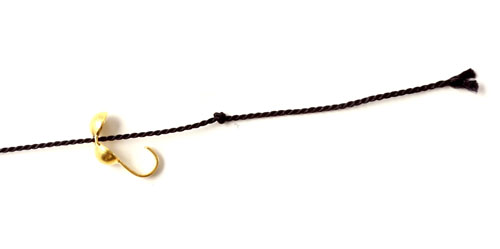
Start out by making a knot (two knots if desired) a _______ the end of the thread. next feed the thread through the hole in the crimp end. Please note that it’s a good idea to carefully pre-stretch the thread before use in order to prevent the thread from slacking later.
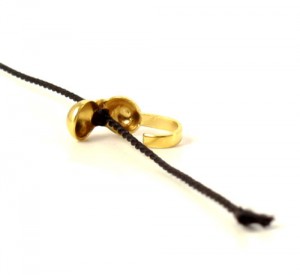
Now move the crimp end so that the knot is fully inside it. Optionally, you can add a little dap of glue to make sure the knot doesn’t undo itself.
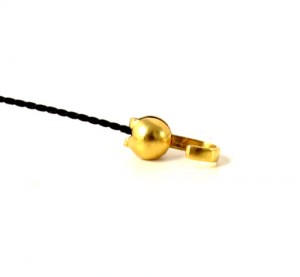
Snip the excess thread closely to the knot and then close the crimp end around it. You can use a pair of flat-nosed pliers to close the crimp end, but do it carefully so it doesn’t become flat, but maintains its round shape. You have now attached the crimp end in one end of the thread.
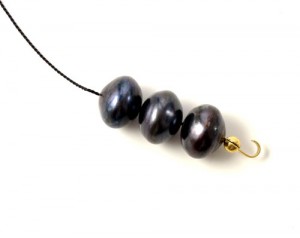
Thread the pearls onto the thread. Because the thread already has a needle attached to one of the ends, it should be easy to do this.
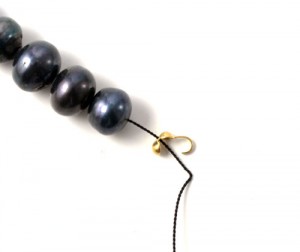
When you have threaded all the beads onto the thread, feed the thread through the other crimp end.
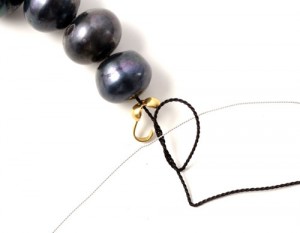
You now need to make a knot in he other end of the thread. You need to make sure the knot is all the way inside the crimp end, to do this you can place the needle inside the knot before you tighten it. Then carefully move the needle to the base of the crimp end, tighten and only remove the needle when the knot has the right placement. Make sure that the crimp end is comfortably placed closely to the last pearl, but don’t make the thread too tight as the beads won’t fall nicely when you wear the necklace. You also risk the thread breaking if it is folded into a box. You can place the necklace in a curve on a table when you make the knot, this makes sure that it’s not too loose or too tight.
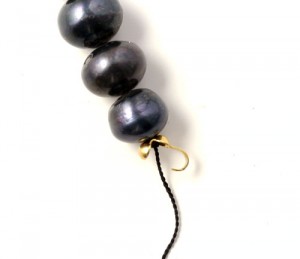
When you have placed the knot closely to the pearls you can give it a little dap of glue to make sure it doesn’t undo itself. You can choose to cut the close to the knot, or close the crimp end and then cut away the excess thread.
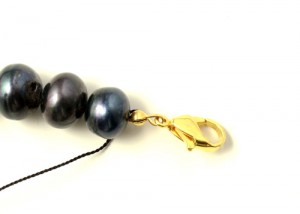
You now bend the end of the crimp end carefully around the eye of the clasp. You can here choose to put the clasp directly onto the crimp end, or you can attach a jumpring to the crimp end and then attach a lobsterclaw clasp to the jumpring.
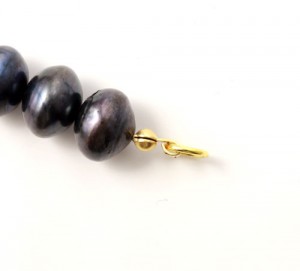
Lastly attach a jumpring to the crimp end in the other end of the necklace in the same manner.
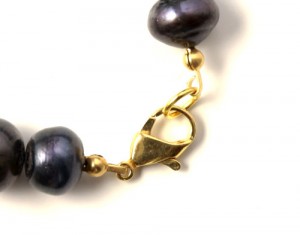
You can not close your pearl necklace.
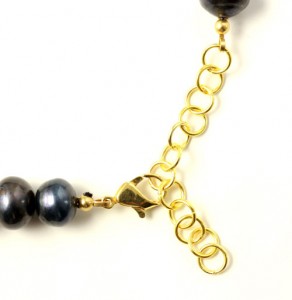
If you wish to be able to adjust the length of your necklace, you can attach a little extra chain by connecting jumprings to each other. You can also purchase a piece of cable chain and attach it to one of the crimp ends.
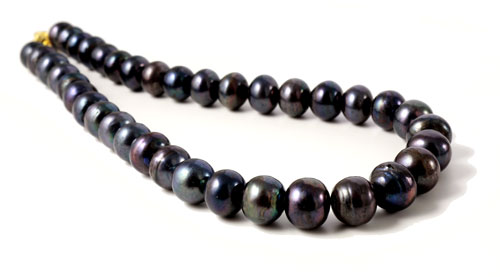
Your pearl necklace is now done.
We will publicly show your name and comment on this website. Your email is to ensure that the author of this post can get back to you. We promise to keep your data safe and secure.